10 Design Tools for E-commerce Designers

Need a design tool to help you make your own print-on-demand apparel?
Whether you’re a beginner or not, using the right design tool make all the difference. Design tools give you inspiration with pre-made templates, graphics, and fonts.
In this blog post, we’ll introduce you to 10 popular design tools with a breakdown of each one. We highlight key features, pros and cons, and how much they cost to use.
Let’s dive in and help you find the right tool to design your custom products.

1. Adobe Illustrator
Experience Level: Intermediate to Advanced
Key Features:
Vector-based design software for precise and scalable artwork.
Extensive tools for typography, shapes, paths, and more.
Easy integration with other Adobe Creative Cloud apps.
Powerful pen tool for creating custom shapes and paths.
Supports CMYK color mode for print-ready designs.
Pros:
Professional-grade tool for intricate designs.
High-quality vector output.
Wide range of design possibilities.
Comprehensive tutorials and resources available.
Cons:
Steeper learning curve.
Requires a subscription for Adobe Creative Cloud.
Paid or Free: Paid (Subscription-based)

2. Affinity Designer 2
Experience Level: Beginner to Advanced
Key Features:
Robust vector design tool with a user-friendly interface.
Comprehensive set of vector editing and manipulation tools.
Supports various file formats, including SVG, AI, and PSD.
Real-time preview of effects and adjustments.
Pros:
Affordable one-time purchase.
Smooth performance even with complex designs.
Intuitive interface for quick learning.
Regular updates with new features.
Cons:
May lack some advanced features found in other tools.
Smaller community compared to Adobe products.
Paid or Free: Paid (One-time purchase)

3. Canva
Experience Level: Beginner to Intermediate
Key Features:
User-friendly online platform with drag-and-drop functionality.
Extensive library of templates, fonts, images, and graphics.
Collaboration features for team projects.
Pre-sized templates for various design needs.
Pros:
Easy to learn and use, no design experience required.
Quick design process with ready-made templates.
Great for simple and straightforward designs.
Free version available with the option to upgrade.
Cons:
Limited control over advanced design aspects.
Output may not be as high-quality for print.
Free version may not include advanced features.
Paid or Free: Free (Paid for premium features)
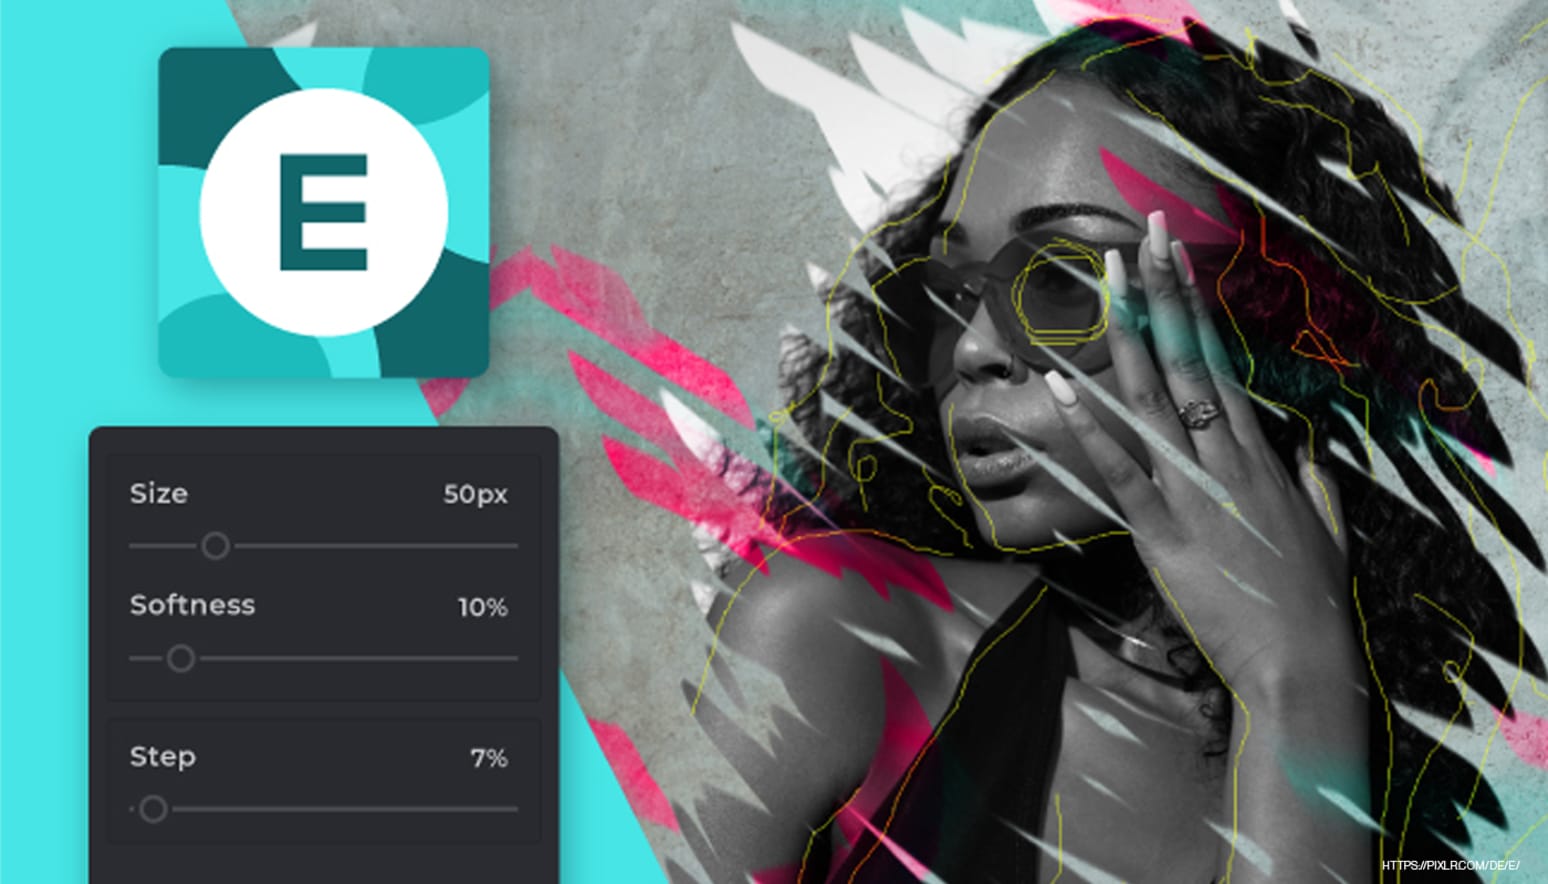
4. Pixlr
Experience Level: Beginner to Intermediate
Key Features:
Web-based photo editing tool with a Photoshop-like interface.
Variety of filters, effects, and adjustments.
Layers and blending modes for advanced editing.
Support for multiple file formats, including PSD.
Basic vector editing capabilities.
Pros:
Easy access through a web browser.
Provides a good balance of features for basic to moderate designs.
Layer support allows for more complex designs.
Cons:
Limited vector editing compared to dedicated vector software.
Some features may require a paid subscription.
Paid or Free: Free (Paid for advanced features)
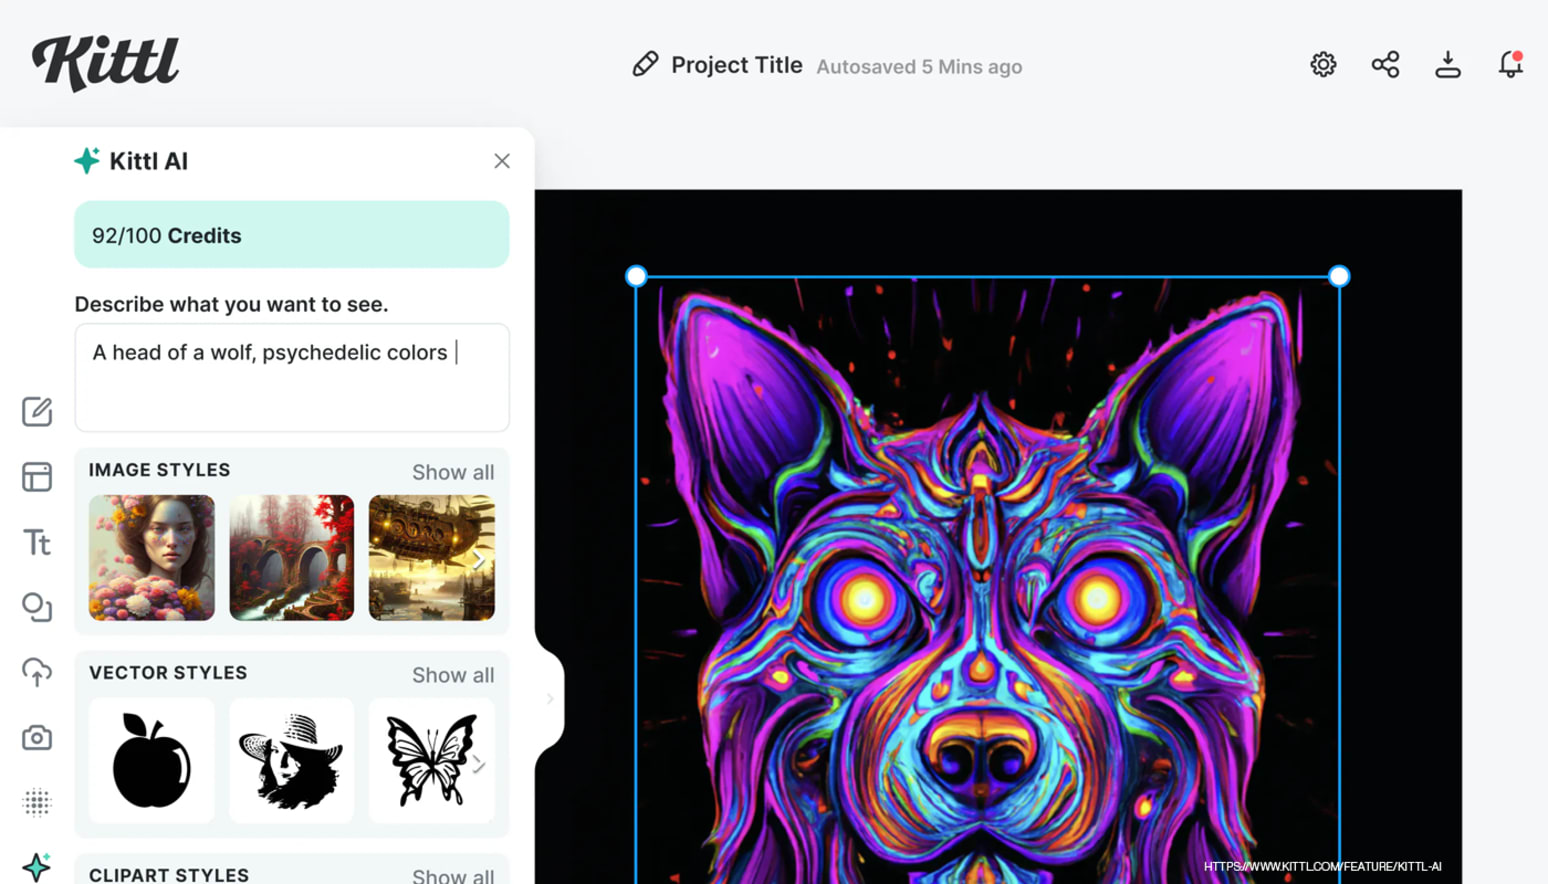
5. Kittl
Experience Level: Beginner to Advanced
Key Features:
Easy-to-use browser-based interface.
Huge library of illustrations, fonts, photos, icons, and textures.
Thousands of customizable templates.
Advanced text editing capabilities.
AI-powered design tools and mockups.
AI images, vector and product photo generator.
Active community and learning materials.
Social media integration.
Pros:
Save time by kickstarting projects with templates.
Beginner-friendly browser-based interface.
Learn on the go and upskill with tutorials, blog posts, and an active discord community.
Cons:
- None that we can see!
Paid or Free: Free (Paid for advanced features)
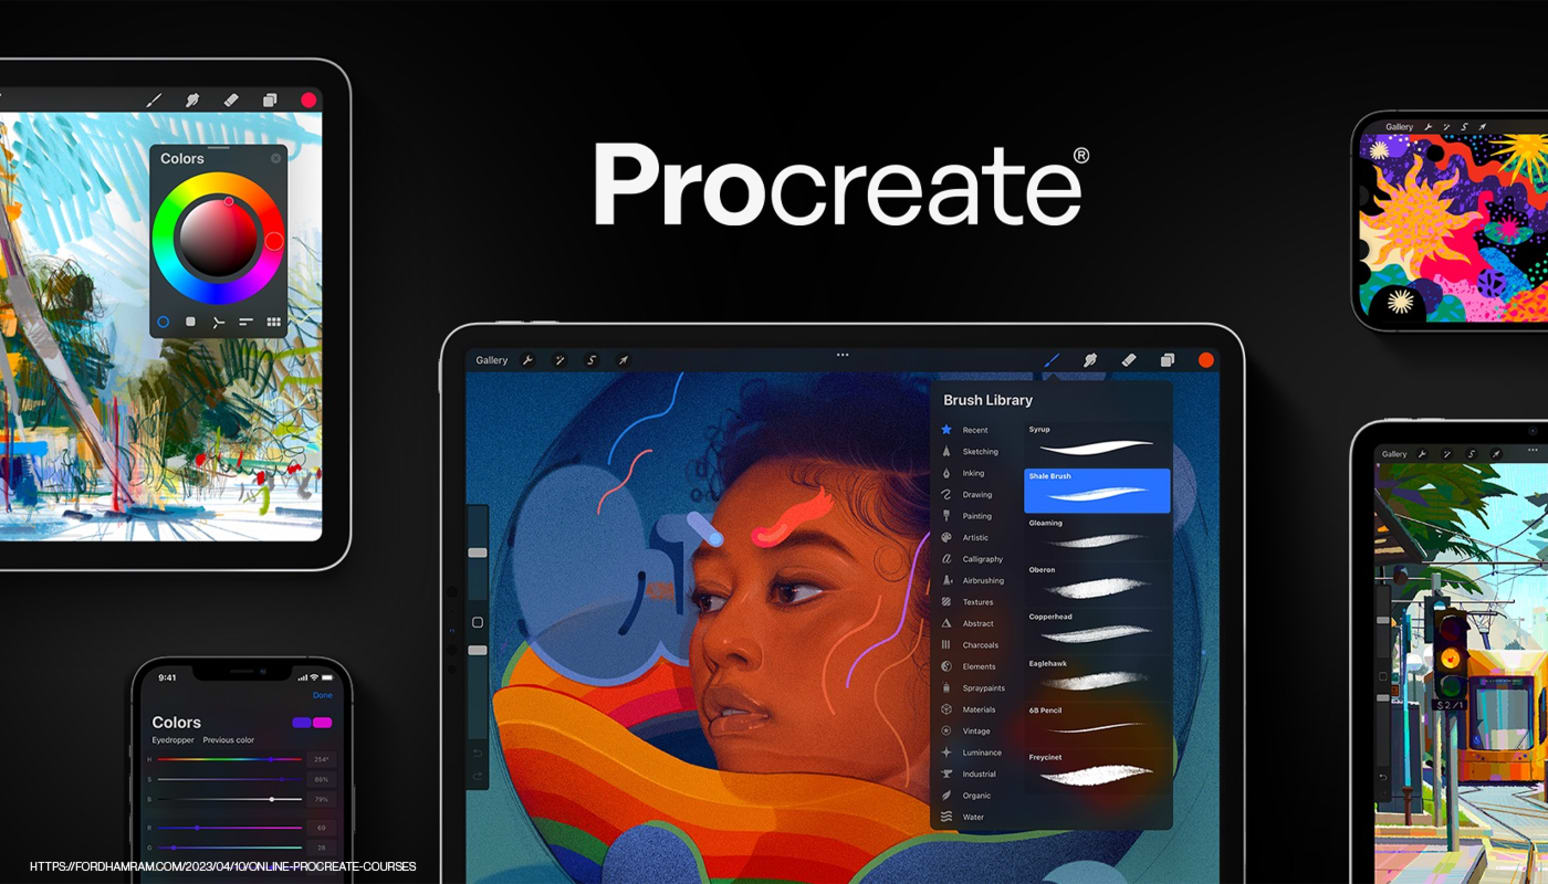
6. Procreate
Experience Level: Intermediate to Advanced
Key Features:
Digital painting app designed for iPad.
Natural brush and drawing tools for realistic artwork.
Wide range of brushes and customizable settings.
Supports layers and various blend modes.
Intuitive interface optimized for touch interaction.
Pros:
Excellent for freehand drawing and painting.
Realistic brush and texture effects.
Seamless export of high-resolution files.
Regular updates with new features.
Affordable one-time purchase.
Cons:
Limited to iPad users.
Not as suitable for vector-based designs.
Paid or Free: Paid (One-time purchase)
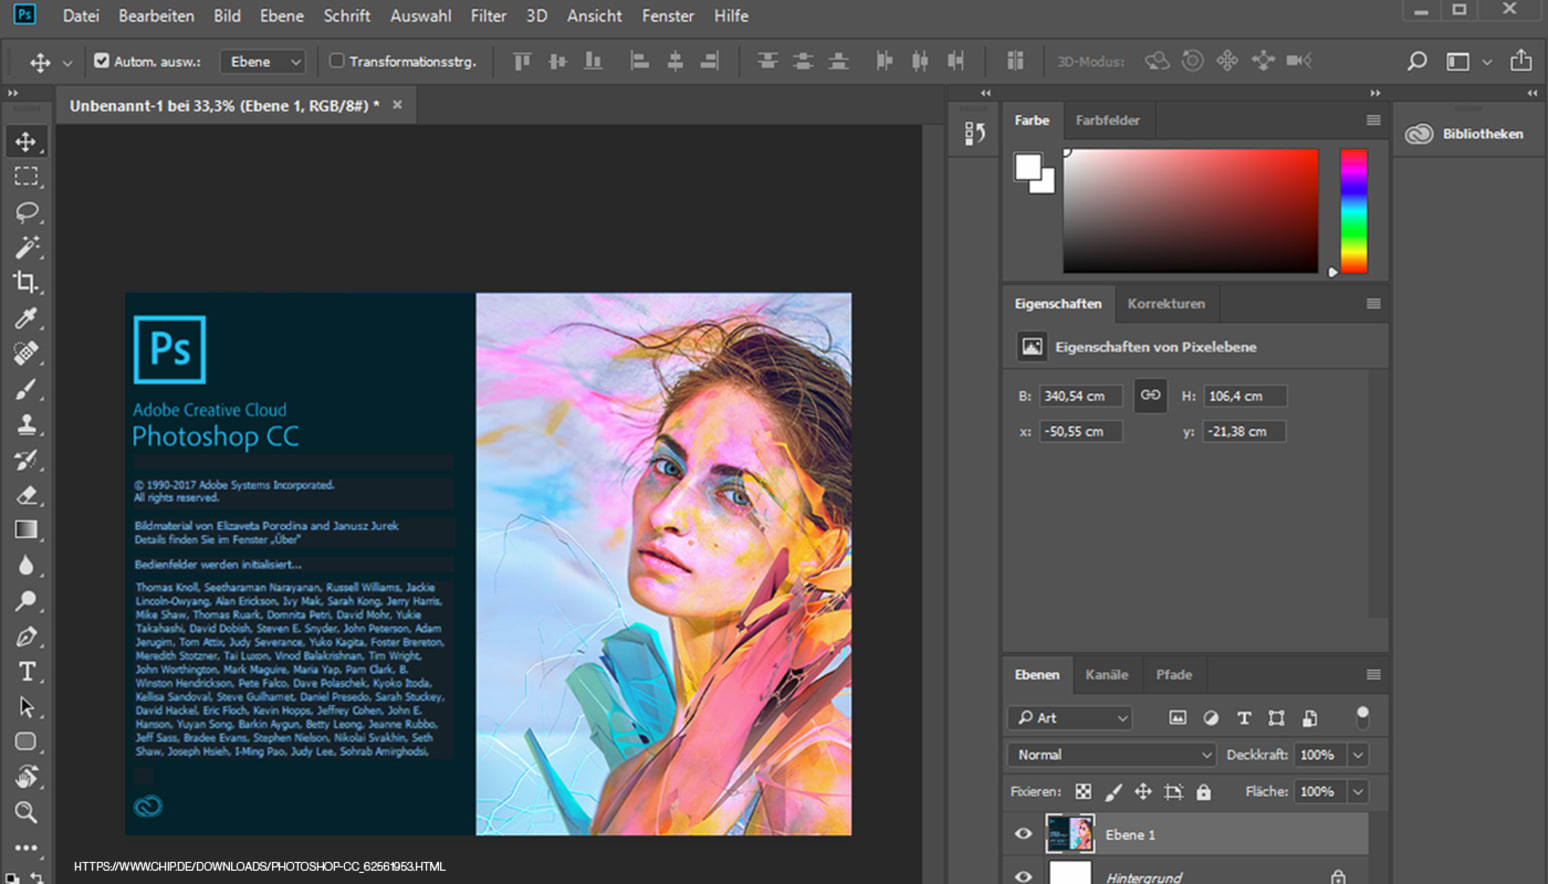
7. Adobe Photoshop
Experience Level: Beginner to Advanced
Key Features:
Industry-standard photo editing and manipulation software.
Comprehensive set of tools for retouching, compositing, and more.
Supports both raster and vector editing.
Wide range of filters and effects.
Integration with other Adobe Creative Cloud apps.
Pros:
Versatile tool for various design needs.
Extensive community and resources.
Regular updates with new features.
High-quality output for both print and digital.
Cons:
Steeper learning curve for advanced features.
Requires a subscription for Adobe Creative Cloud.
Paid or Free: Paid (Subscription-based)
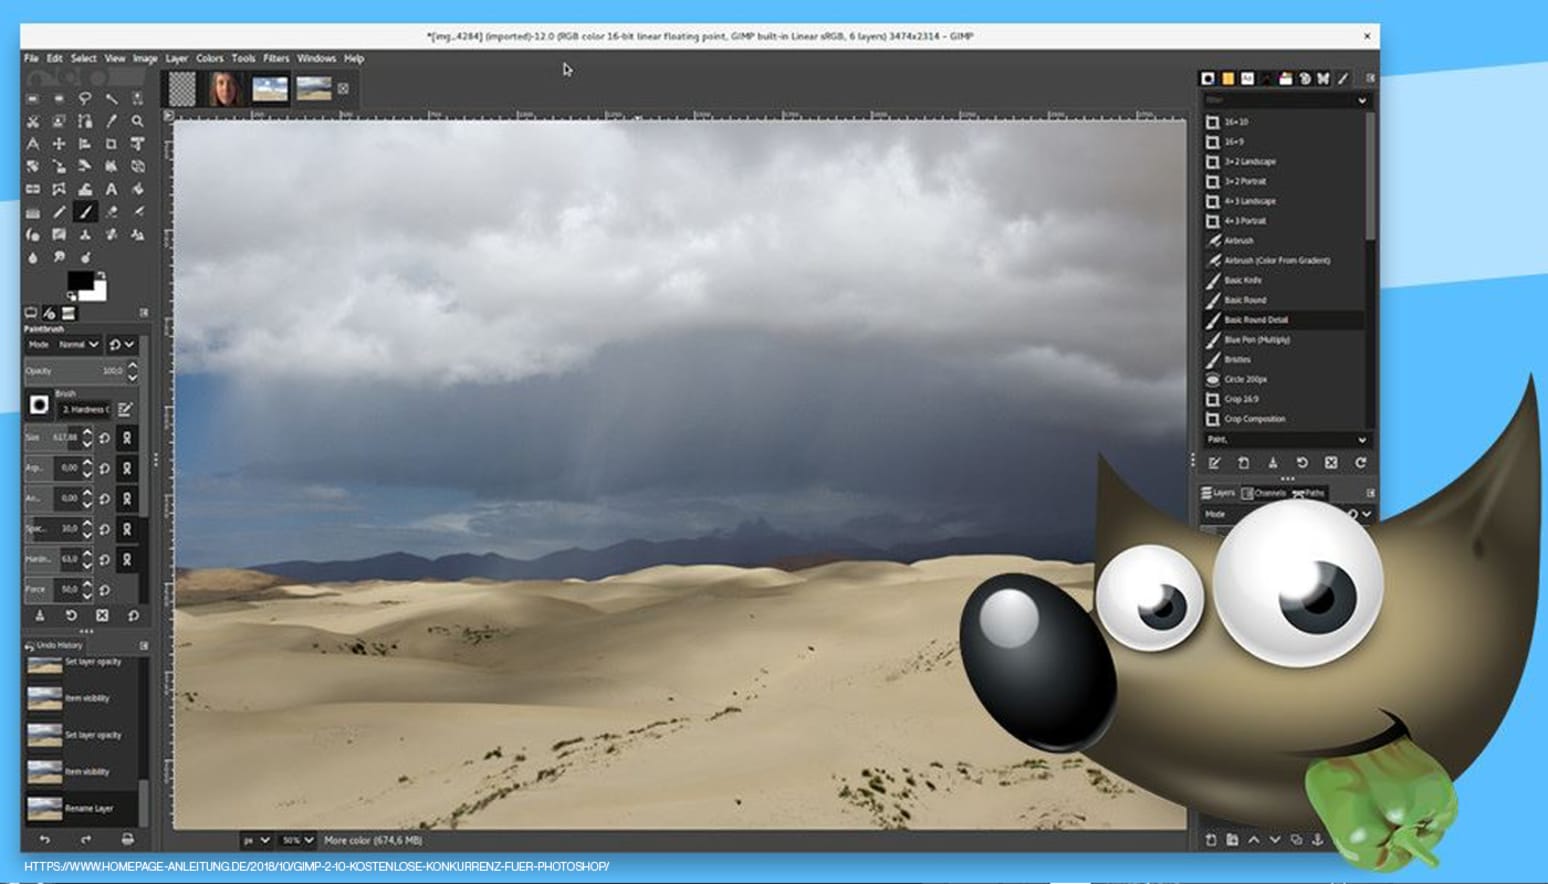
8. GIMP (GNU Image Manipulation Program)
Experience Level: Beginner to Intermediate
Key Features:
Open-source graphics editor.
Offers many features comparable to Photoshop.
Supports layers, filters, and various tools.
Customizable interface and functions.
Regularly updated with improvements.
Pros:
Free and open-source software.
Suitable for photo manipulation and basic design.
Active online community and resources.
Cross-platform compatibility.
Cons:
User interface may feel less polished.
Steep learning curve.
Some advanced features might be missing.
Paid or Free: Completely free

9. Inkscape
Experience Level: Beginner to Intermediate
Key Features:
Open-source vector graphics editor.
Focuses on scalable vector design.
Supports SVG format and other vector formats.
Comprehensive set of drawing and editing tools.
Wide range of filters and effects.
Pros:
Free and open-source software.
Suitable for creating logos, illustrations, and vector-based designs.
Active user community and tutorials.
Cross-platform compatibility.
Cons:
May not have all the advanced features of commercial software.
User interface might feel less intuitive.
Paid or Free: Completely free
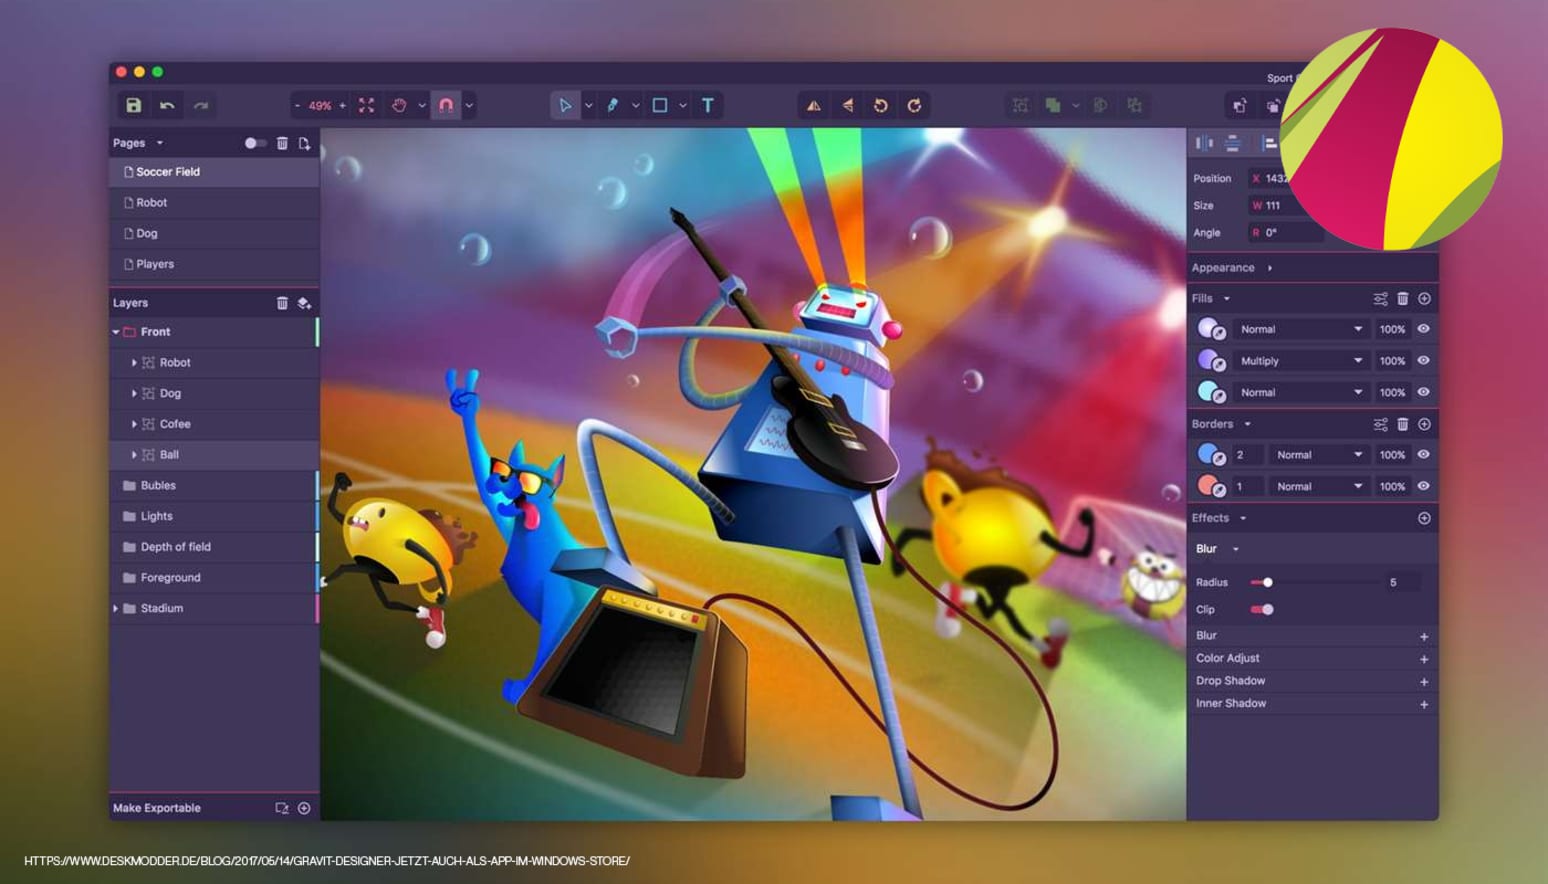
10. Gravit Designer
Experience Level: Beginner to Intermediate
Key Features:
Cross-platform vector design tool (web-based and desktop).
Intuitive interface with familiar design elements.
Supports both vector and raster editing.
Real-time collaboration for team projects.
Library of design assets and templates.
Pros:
Free version available with affordable subscription options.
User-friendly interface for quick learning.
Suitable for both vector and image-based designs.
Regular updates with new features.
Cons:
May not be as feature-rich as premium tools.
Some advanced features require a subscription.
Paid or Free: Free (Paid for premium features)
Which is the best design tool for me?
There is no single best option for everyone – the right choice for you will depend on your level of design experience, the types of projects you are working on, and your budget. Compare the key features of each tool, and keep in mind that you can try many of these tools for free before you commit!
One important thing to note: many tools which offer a free basic version (such as Kittl and Canva) prohibit the use of templates for commercial purposes unless you upgrade to a paid license. Make sure you check before using them in your business!
| Feature | Kittl | Photoshop | Illustrator | GIMP | Canva | Affinity 2 | Pixlr | Procreate | Inkscape | Gravit |
|---|---|---|---|---|---|---|---|---|---|---|
| Suitable for beginners |  |
|
 |
|
|
|
|
|
|
|
| Customizable templates | |
|
|
|
|
|
|
|
|
|
| Library of themes/graphics/etc. | |
|
|
|
|
|
|
|
|
|
| Learning tools | |
|
|
|
|
|
|
|
|
|
| Free version available | |
|
|
|
|
|
|
|
|
|
| AI powered design tools & mockups | |
|
|
|
|
|
|
|
|
|
| Web-based | |
|
|
|
|
|
|
|
|
|
| Cloud-based | |
|
|
|
|
|
|
|
|
|
Phew! With all that info on various design tools, you’re all set to choose the perfect one for your design needs. Whether you prefer vector-based precision, freehand drawing, or photo manipulation, there’s a tool that matches your skill level and creative style. Remember that the best tool for you depends on your familiarity with design software, the complexity of your designs, and your budget.
Experiment, explore, and let your creativity flow as you embark on your journey to create captivating designs!

Common FAQs for Print-on-Demand Designs
What are the best design dimensions for print-on-demand merch?
The best dimensions for print-on-demand designs are typically 4000 × 4000 pixels at 300 DPI. Download as a PNG with a transparent background.
This ensures high-quality designs ready to be printed on products like t-shirts, hoodies, and tote bags without pixelation.
What file format should I use for print-on-demand designs?
PNG is the most commonly recommended file format for your designs because it supports transparency.
This allows your design to blend seamlessly with different product colors. JPG can be used for full-background designs, but it does not support transparency.
Can I use free tools to make print-on-demand designs?
Yes, free design tools like Canva and Kittl make it easy to create print-on-demand designs with zero experience. These tools have libraries of pre-made templates, fonts, and graphics that ready to customize to create original designs.
How do I make sure my design prints correctly on apparel?
To ensure your design prints correctly, use high-resolution files (300 DPI), avoid placing important elements too close to the edges, and preview your design on different product colors before publishing.